Learn to create rubrics in Brightspace
Clear rubrics play an important role in effective assessment and feedback processes. They help students manage their learning and performance by communicating:
Rubrics can also be a useful mechanism for assessment design, helping staff to:
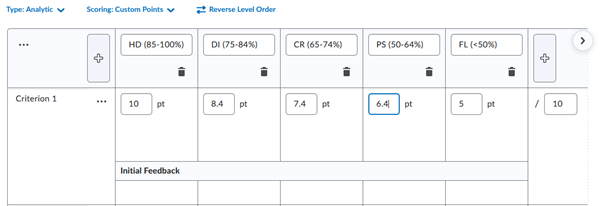
In Brightspace, rubrics consist of assessment criteria, set out in rows, and text descriptions of criterion-specific levels of performance.
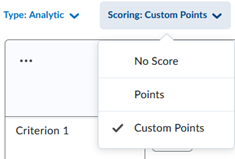
Rubrics may have fields into which a mark for each criterion is entered (a points/percentage-based rubric) or may consist of text only (a no-score rubric). In a points/percentage-based rubric, Brightspace automatically totals the marks assigned to each criterion to provide an overall mark.
Whenever a Brightspace assignment or discussion carries assessment weighting or will have feedback associated with it, we recommend you add a rubric.
Rubrics are available for use in:
In this guide you will learn how to:
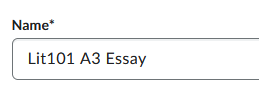
All rubrics you create in Brightspace must match the Subject Outline.
Creating a rubric that works for you and your students can be a complex task! If you are interested in discussing your needs and getting support from an Educational Designer, please Log a Service Request.
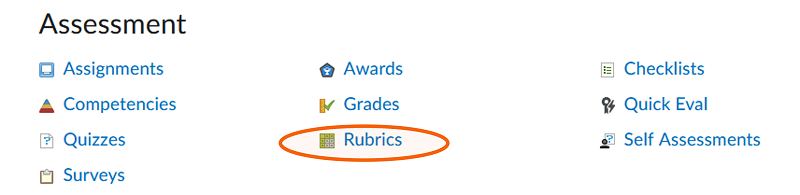
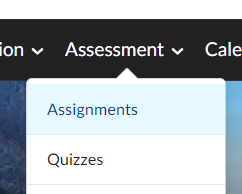
To access the Rubrics tool:
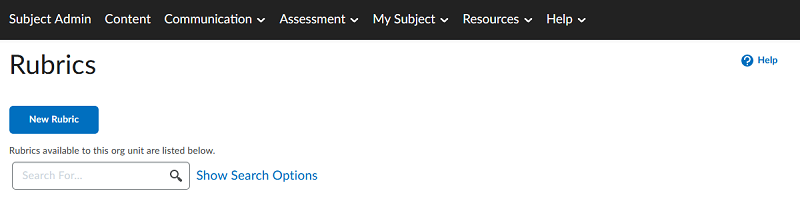
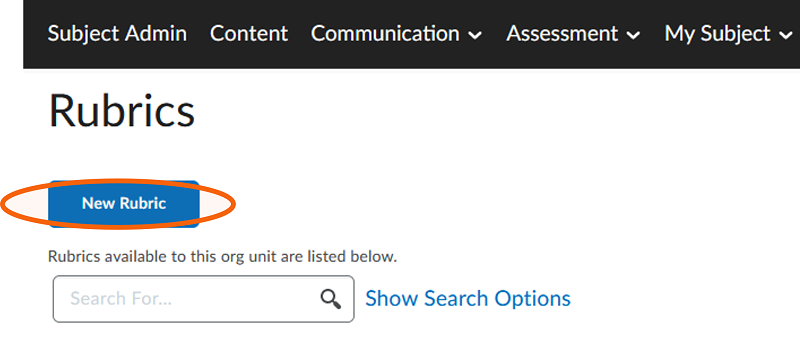
Click on New Rubric to start creating your rubric.
You can also access the Rubrics tool from the Assignments or Discussions tools. For the steps to follow, see Choose marking and feedback options in Create assignments.
To create a points-based rubric:
This will launch the Rubrics editor. All work within the editor is saved automatically.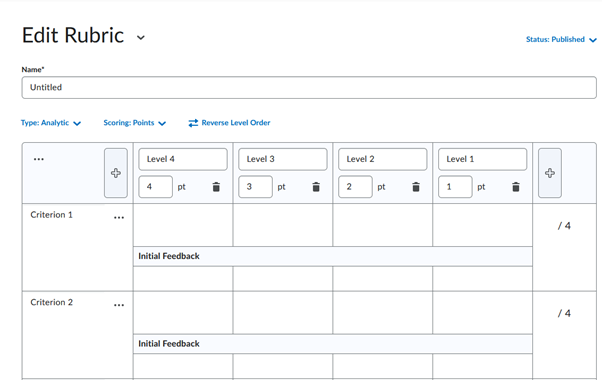
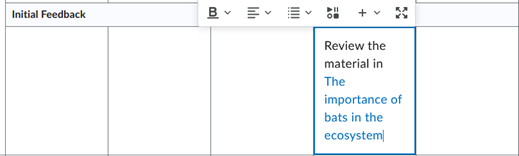
During the marking process, you can enter a range of possible mark values. The number visible in the mark field when you create or edit the rubric is the maximum possible value for that criterion level.

Brightspace has a character limit for criterion and column header labels of 256 characters. If your existing criteria statements are too long, we recommend that you provide concise versions of them within Brightspace. Expanded criteria could be included as an attachment to the assessment, or in directions to view the full criteria on the Subject Outline.
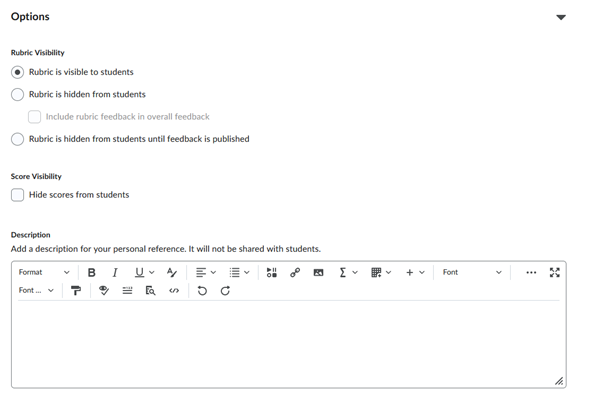
Rubric Visibility: There are three different options for rubric visibility:
Score Visibility: Consider if you need to amend the Score Visibility setting. Selecting this option will hide scores from students in the rubric feedback, though they will still see checkmarks. The overall mark for the assessment item will be visible in My Grades once the mark is published.
Description: This text is only visible to staff users via the rubric dashboard. Adding this text might be helpful to distinguish between rubrics in the dashboard. This text is optional, but if you do use it, we recommend the description is kept short.
Advanced Availability: refers to other Brightspace tool areas currently not being utilised – please ignore.
To create a no-score rubric, follow the steps in Create a points-based rubric above, selecting No Score rather than Custom Points at step 4.
Numeric fields will not appear in a no-score rubric.
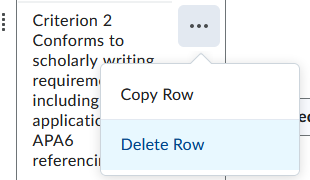
If you need to copy an existing rubric within your subject site, the Rubrics tool makes it easy.
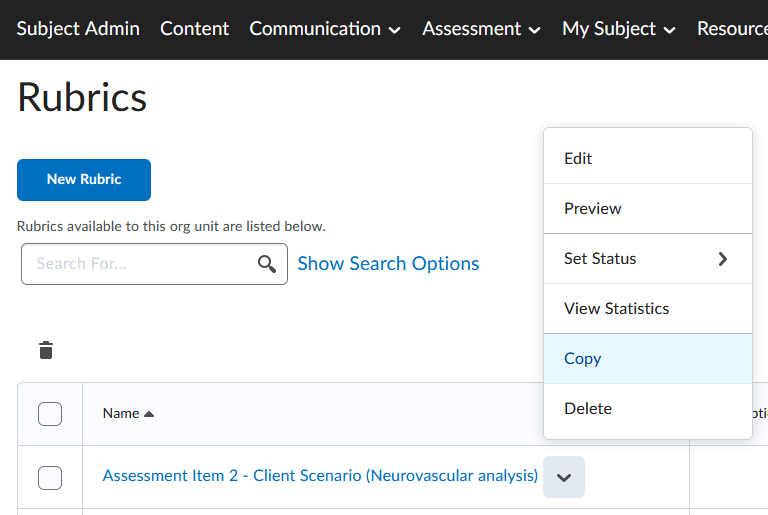
You will now see Copy of <rubric name> listed in the Rubrics tool main screen. Edit this as appropriate, noting that its status is initially set to Draft. Do not forget to rename it using the convention described in Create a points-based rubric, step 3.
Other options available from the drop-down include:
To add a rubric to an assignment:
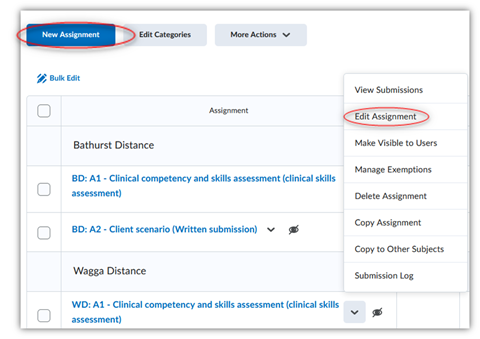
![Adding a rubric on the assignment creation screen]](https://cdn.csu.edu.au/__data/assets/image/0009/4293765/creatingrubrics17.png)
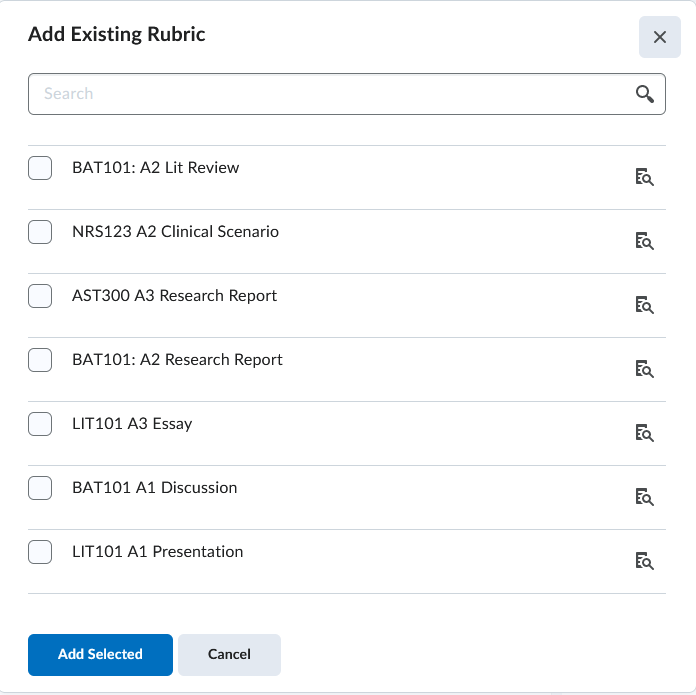
You can add multiple rubrics to an assignment. Brightspace will derive the overall assignment mark automatically from the first percentage/points-based rubric added to an assignment. If necessary, the automatically derived mark can be overridden by entering a numeric value manually in the Overall Grade field for the assignment.
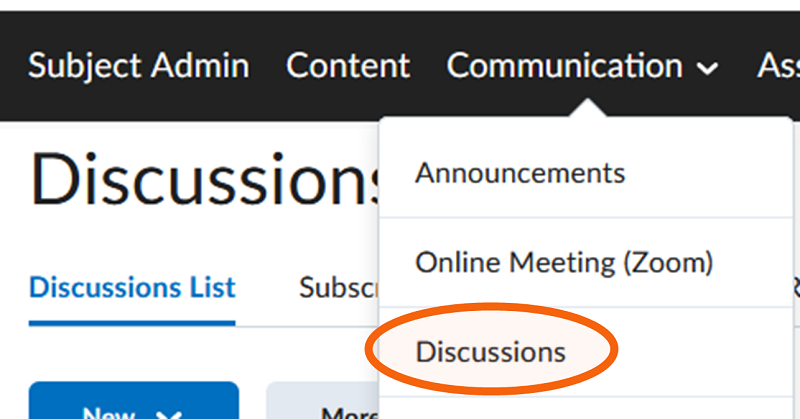
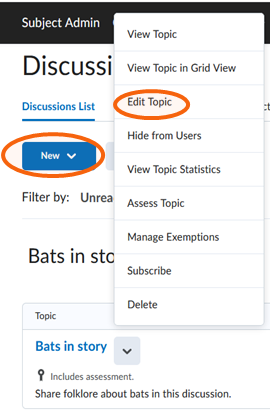
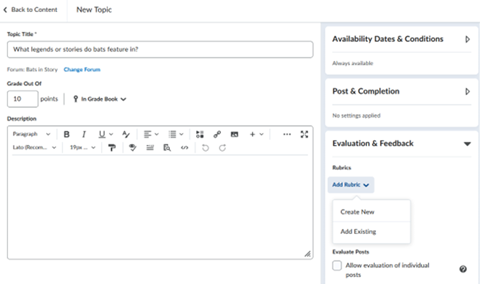
To add a rubric to a discussion topic:
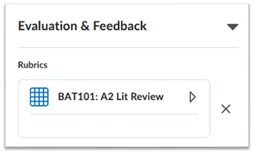
 Once your rubric is attached you will be able to see it listed in the Evaluation & Feedback expanding accordion bar.
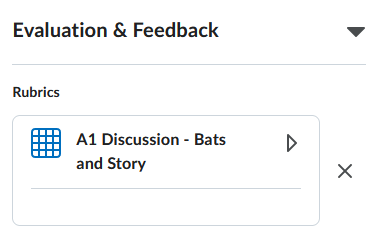
You can add multiple rubrics to a discussion topic. Brightspace will derive the overall discussion topic mark automatically from the first percentage/points-based rubric added to a discussion topic, unless Allow evaluation of individual posts is selected. If necessary, the automatically derived mark can be overridden by entering a numeric value manually in the Overall Grade field.
This page may be updated at any time. If you print it, you could miss future changes. Please check this page regularly for the latest updates.