Associate Professor Michael Kemp (School of Computing, Mathematics and Engineering) and Dr Kath Herbert (Faculty of Business, Justice and Behavioural Sciences) contributed content to this web article. We gratefully acknowledge their input and assistance.
There are two options for moderation in Brightspace:
A basic approach to grade moderation is to access the assignment, quiz, or discussion and view student submissions and assigned marks and feedback when saved as a draft. This is the simplest of the two methods. Reviewing marks submission-by-submission does not require using any additional features or tools in Brightspace. However, it does not allow a moderator to view and change the provisional mark distribution. | The enhanced moderation experience in Brightspace involves manual steps to hide marks and feedback before moderation, allowing these to be published to My Grades without being visible to students. Marks are then released to students when ready. This approach requires additional steps and a custom Brightspace feature but allows for more complex forms of moderation. |
This web article explains the steps to take when using the basic approach. To follow the approach set out in this article, you will need to complete the following steps:
This page offers guidance only. When moderating marks, please ensure you follow applicable university policies and faculty, school, or area instructions.
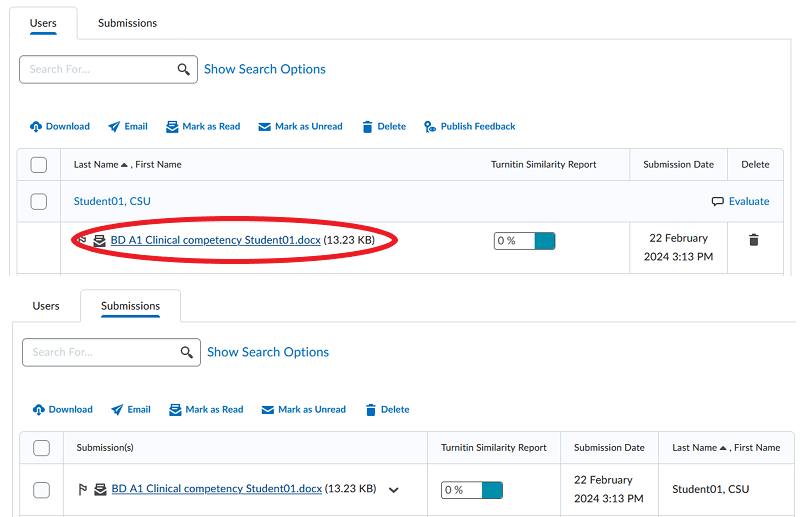
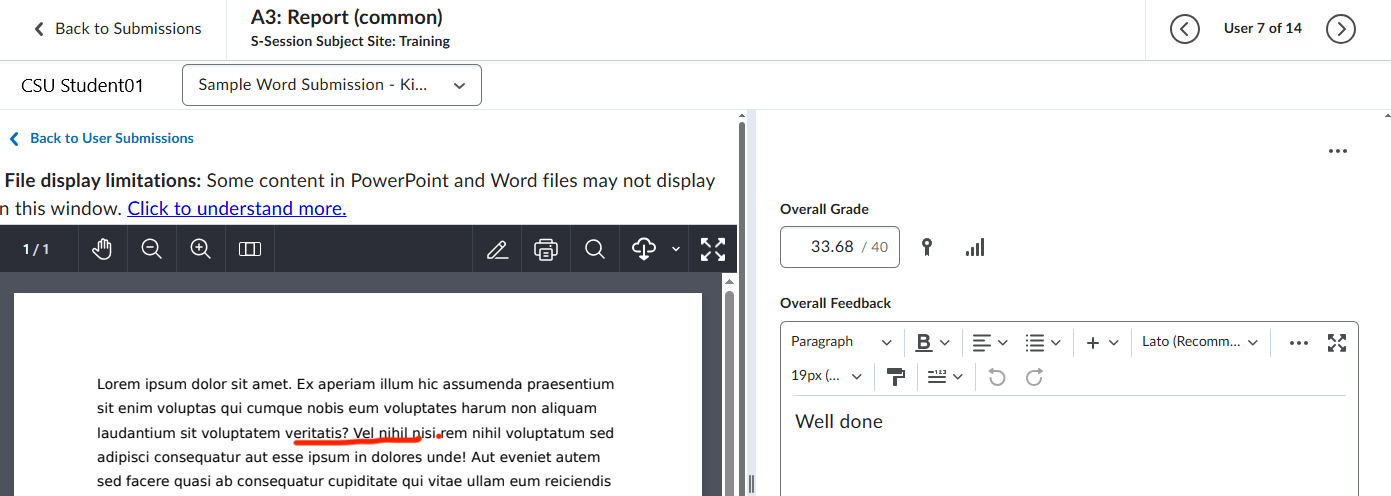
To hide marks and feedback from students before moderation has taken place, we would normally advise markers to use Save Draft when marking in the Assignments, Quizzes, or Discussions tools.
This is because once a marker Publishes a mark and feedback, these will normally be visible to students in the Assignments, Quizzes, or Discussions tool and in other places like Class Progress unless the assignment, quiz, or discussion is also hidden.
This applies even if the associated grade item and any grade item category to which it is attached is hidden in the grade book (My Grades).
An assignment mark can be published to My Grades without releasing the mark and feedback to students. See Hide marks on publication under Finalise assignments. Using this method, markers can publish marks and feedback to My Grades after the assignment has been marked. Marks can be released to students later after moderation is complete.
Alternatively, you can restrict who can publish marks and feedback to students in an assignment. This allows you to make sure that markers do not publish marks and feedback and make them visible to students before moderation is complete. See Add markers and publishers under Finalise assignments.
It is not currently possible to publish marks to My Grades from a quiz or discussion without releasing the marks and feedback to students, unless the quiz or discussion is also hidden. In a quiz or discussion, you cannot change who can publish marks or feedback.
Accordingly, markers must be instructed to use Save Draft if a quiz or discussion will remain visible to students, and you do not wish marks and feedback to be released to students prior to moderation.
A disclaimer stating that marks are not final until approved by Faculty Assessment Committee appears to students in My Grades.
If you wish to, you can create a text field in My Grades to record comments during the moderation process.
Follow these steps:
A text field will now appear in My Grades and will be hidden from students.
When viewing draft marks and feedback in the Assignments, Quizzes, or Discussions tools, you can have My Grades open in a different tab and add any comments as you carry out moderation.
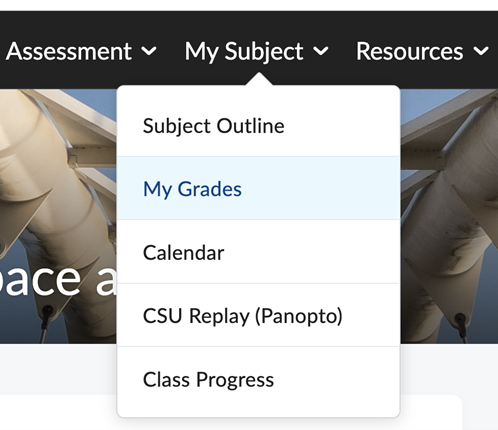
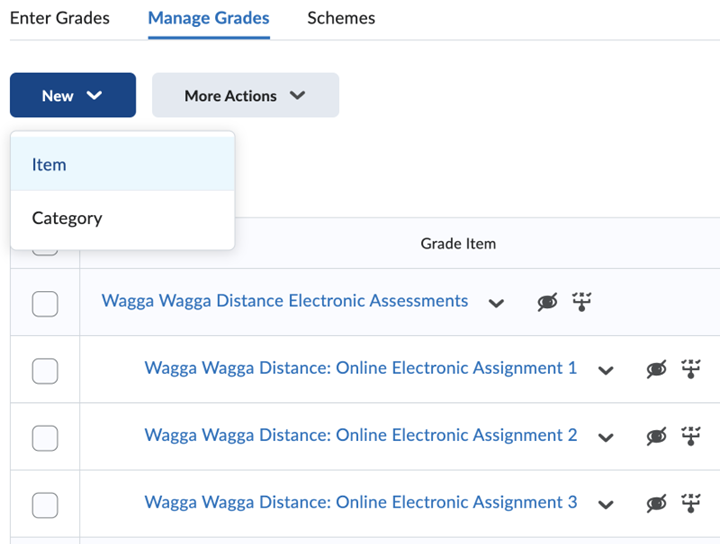
To view grade statistics for a grade item (assessment) in Brightspace, go to the subject, select My Subject>My Grades and select Manage Grades.
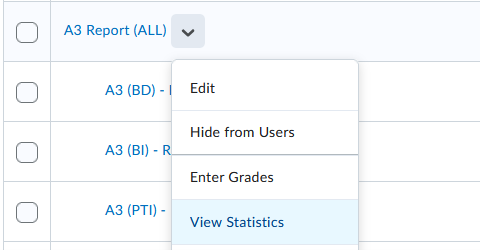
Click on the drop-down box next to the grade item you want to see grade statistics and select View Statistics.
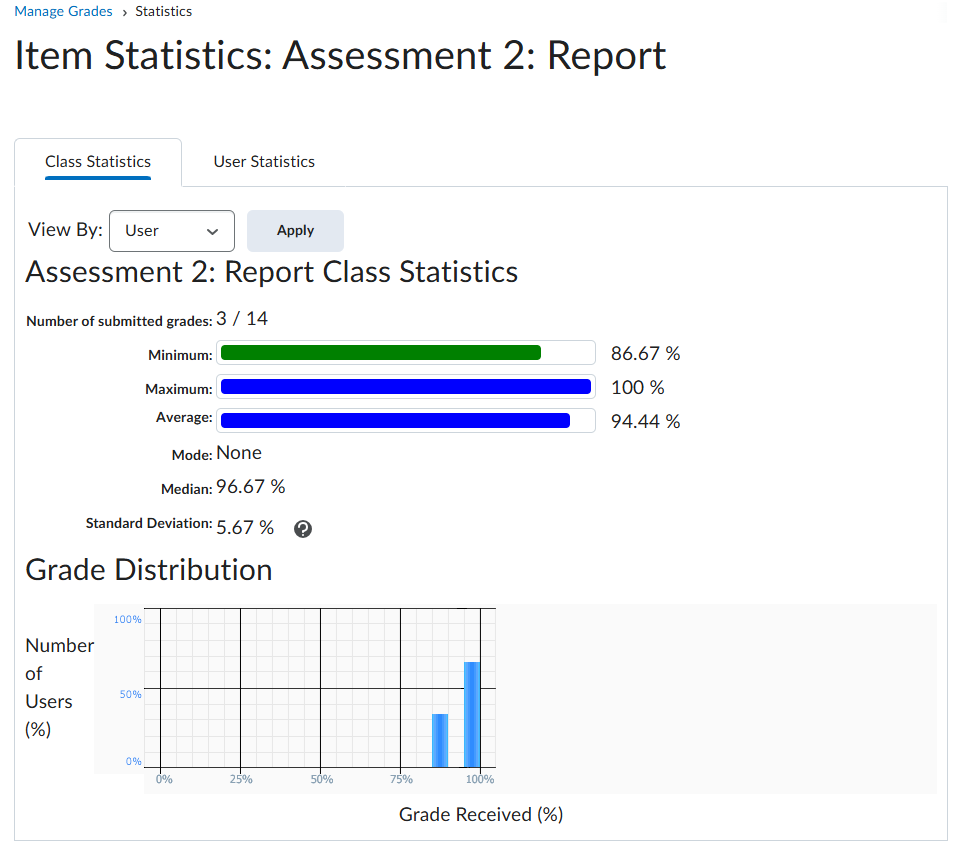
On this page you can access grade statistics at a class level (Class Statistics) and at the individual level (User Statistics). The grade distribution page provides statistical insights into grades, including minimum, maximum, and average scores.
You can analyse grade distribution at both a class level (Class Statistics) and at the individual level (User Statistics), and this can be filtered by section or group.
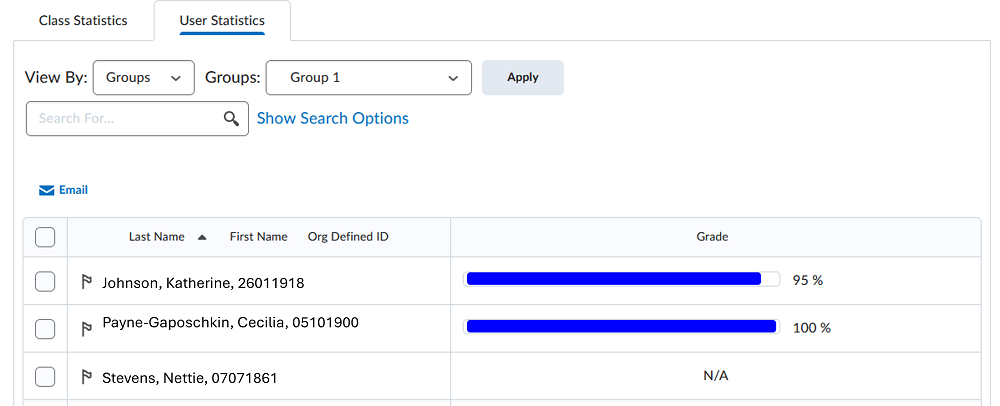
You can also use filters to focus on specific grade ranges in student marks. Click on User Statistics and select Show Search Options.

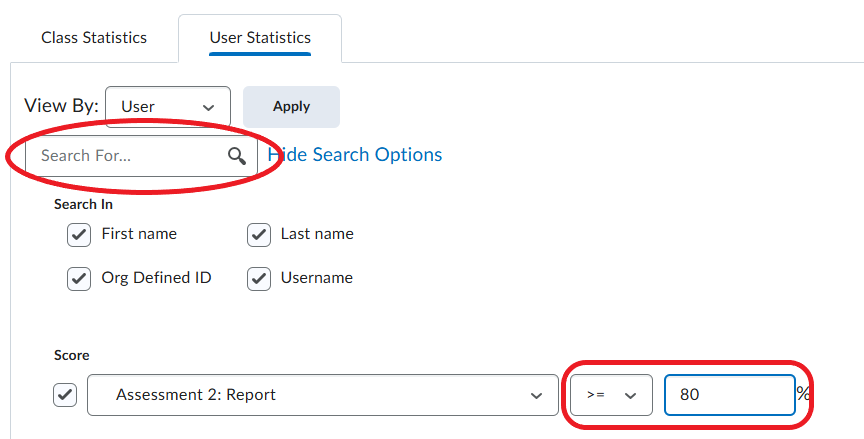
Click the Score check box and select the assessment grade item you wish to analyse from the Drop-down menu.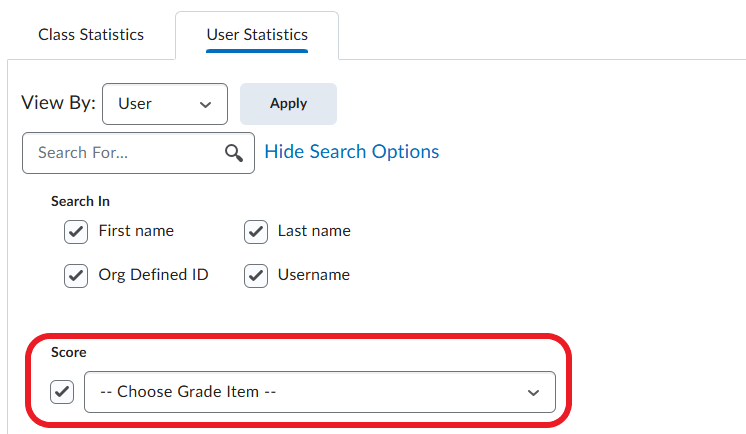
Once you have selected the Assessment Grade item, score conditions become available. The options include: >=, <=, <, >, or = of a particular score. Enter the score conditions, click into the Search For… field and hit Enter. The list will be filtered to display the score range you specified.
For more information about marking assignments, visit Mark Assignments.
For more information about marking quizzes, access Mark Quizzes.
The amended grade will be recorded.
Amended grades can be entered in bulk. See Manually enter marks directly into My Grades under Set up My Grades.
This page may be updated at any time. If you print it, you could miss future changes. Please check this page regularly for the latest updates.