This article discusses creating and embedding Panopto videos into learning materials within a Brightspace master and/or subject site. It explains the distinction between Panopto master and session folders and provides steps for uploading videos to the appropriate location.
To ensure proper provisioning and persistence of videos embedded into learning materials across sessions, work should be done within your subject master site and the Panopto master folder. Doing this will ensure that videos intended for long term use across multiple sessions will remain accessible to students. The Panopto master folder will be persistent across sessions, while the folders in the session subjects are specific only to the teaching session.
The process can be completed in a session site if required during a teaching session. In the instructions below, any mention of Master site or Panopto master folder can be substituted for subject/ session site and Panopto session folder. However, the subject master site and Panopto master folder will require updating prior to the next teaching session.
The Insert stuff method to embed videos, as shown in the guide below, is the recommended process to follow. Do not use embed codes or Panopto links as students will not have the correct access to view the videos.
You can access the Panopto master folder either through your master site in Brightspace, or through the CSU Panopto portal. In most instances you will use the master site to create recordings. The Panopto portal provides a central location for creating and managing Panopto recordings across all your sites.
Access your master site in Brightspace.
Click on My subject in the navigation bar and select CSU Replay (Panopto). 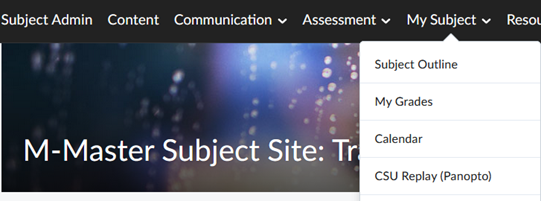
The Panopto master folder for the subject will automatically display.
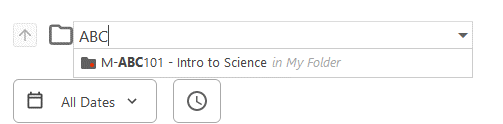
If not, you can type in your subject code in the search field and then select the master folder, which starts with the M- designation.
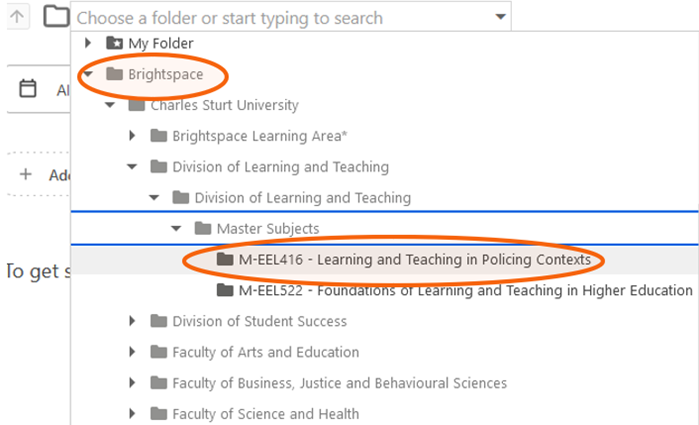
You can also locate the Panopto master folder by clicking on the Brightspace folder. Navigate down through the faculty and school folders until you find the master folder.
Go to the CSU Panopto portal at https://csu.au.panopto.com
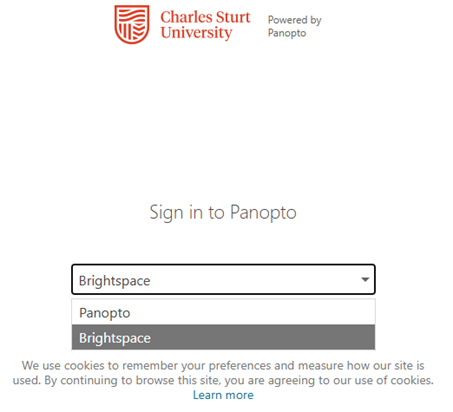
Click the drop-down box and select Brightspace to sign in.
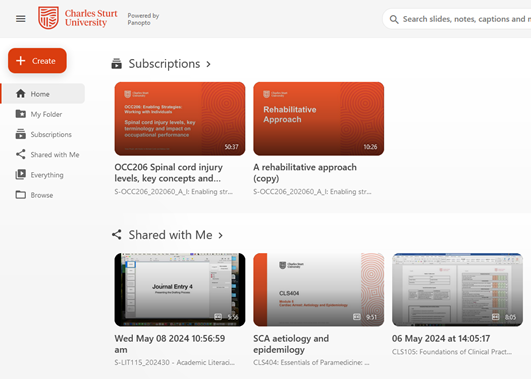
You will then see the Panopto ‘back-end’.
To find the folder that you need, select Browse, type in the subject code in the search field and select the master folder which starts with M-. The master folder in Panopto uses the same naming convention as the master subject sites in Brightspace. 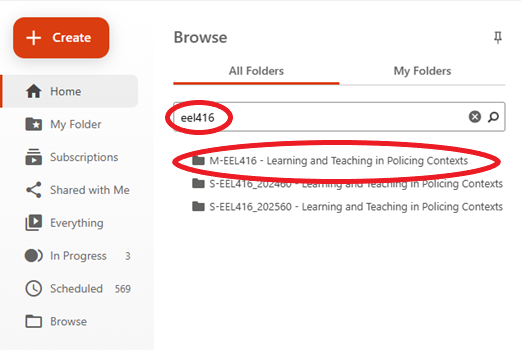
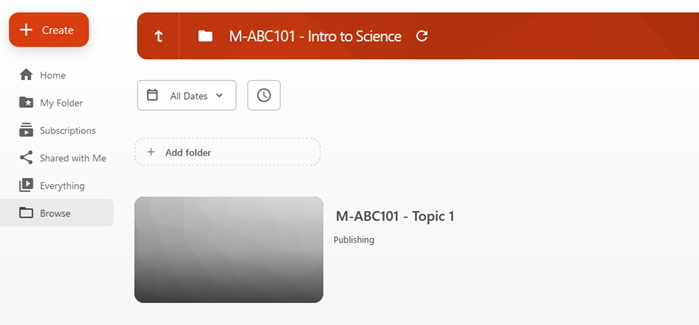
This is the folder that you should use to create or upload the videos that you want to embed into your learning materials.
Note: You can also locate the Panopto master folder by clicking on the Brightspace folder. Navigate down through the faculty and school folders until you find the master folder.
To add a video in the Panopto master folder, navigate to the folder and click on Create.
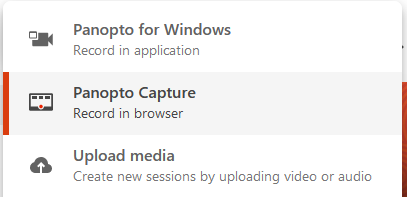
You will see that there are several different options: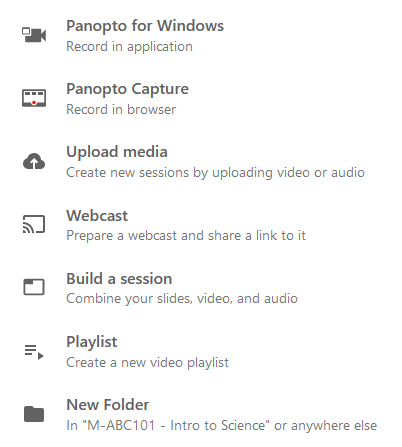
To create a new recording select Panopto Capture. This option launches Panopto Capture, which allows a user to easily record audio, video, entire screens, or application windows from directly within their browser, and no download is required.
Panopto Capture will launch in a new browser tab. Choose your recording options:

You can also adjust the settings for recording options (SD/HD quality), stream output, video layout, and background by selecting the cog icon.
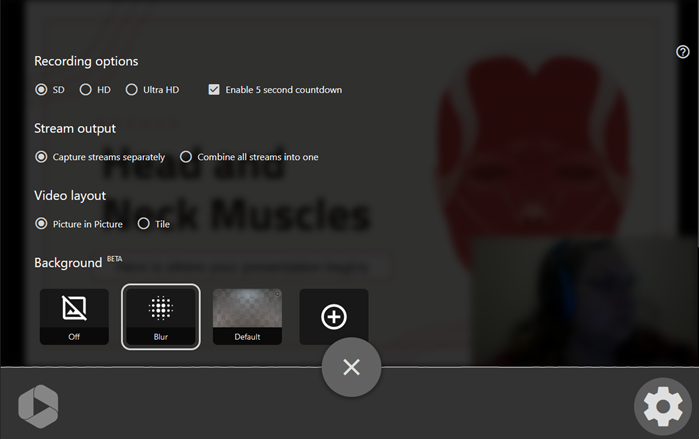
Click the red circle button to start recording. 
Click the red square button to stop recording. 
The recording will automatically upload to Panopto. On the confirmation screen you can view a preview, redo if needed, and give a meaningful title to the recording. The ideal naming would include subject code, topic/lecture/ title of video. This allows the video to be easily identifiable and finding the video is easier due to being able to search on a subject code. It also means if the student opens the video up in Panopto, they have the context of the subject and the content it relates to. E.g. ABC123 Topic 1/Lecture 1: Biology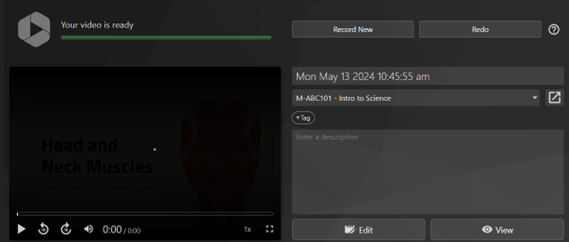
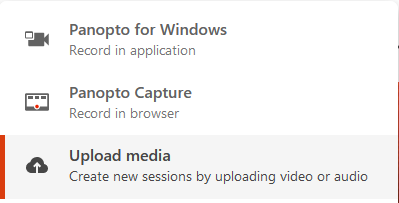
To upload a recording you have already made, choose Upload media. This option will allow you to upload audio files, a single video, or multiple videos that will create new Panopto Sessions.
Click in the dotted field to open the browse window to locate the file on your computer, or use the drag and drop function to drop the video into the field. 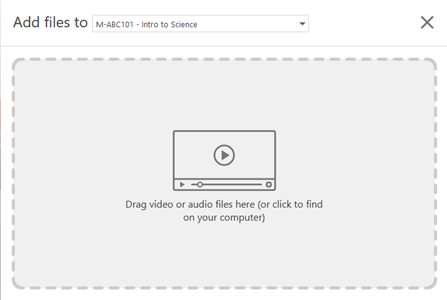
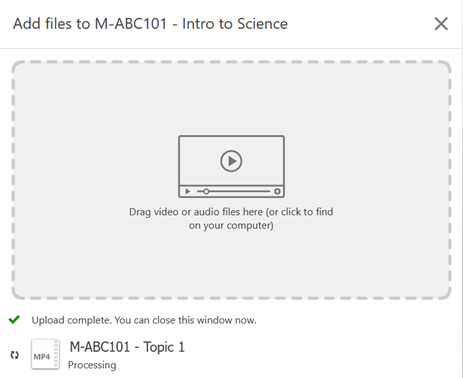
The file will upload, and you will see a confirmation screen with the name of the video and upload status listed.
Log into your Master Subject site.
Navigate to the content page (this cannot be completed in announcements or topic folders) within Brightspace where the Panopto video will be inserted. Click on the Options button and click on Edit.

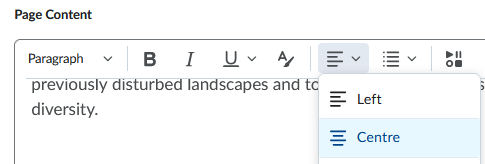
In the Brightspace edit window, move the cursor to where the video will be inserted and select centre from the alignment options. This will ensure the video sits in the correct position on the page.
Select the Insert Stuff icon in the editor. 
Select the Panopto Deep Link option. 
Search for and locate the Panopto Master folder where the videos are stored using the drop-down box. When you are in the correct folder, select the video you want to embed. Note: If the videos are stored in a sub-folder within the Master folder, they will not display, you will need to search for the sub-folder to locate the videos.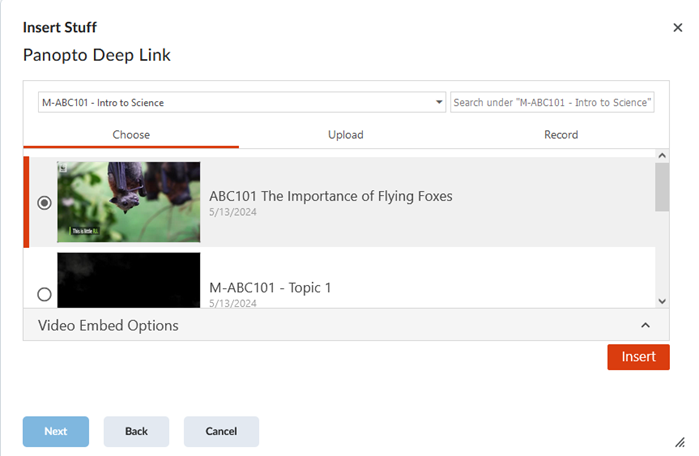
Click on the Insert button. The video preview will be displayed. Click on the Insert button to embed the video in your page.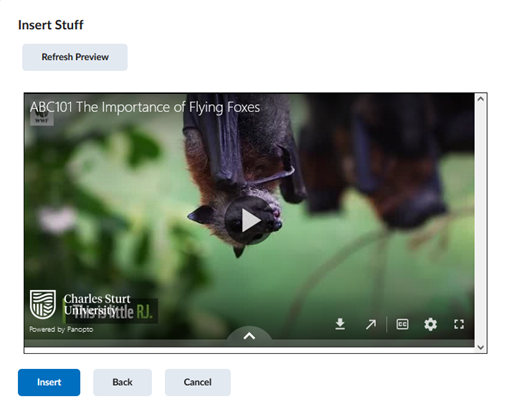
Click Save and Close.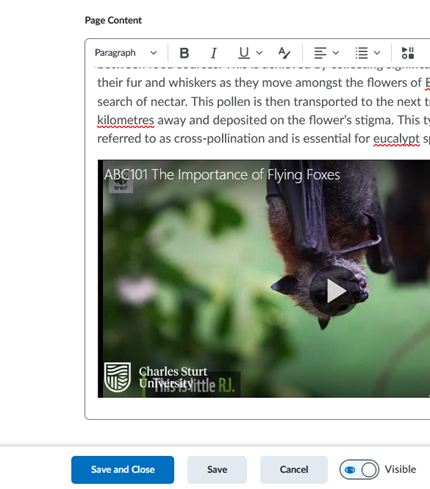
Your recording will now be embedded on your page.
This page may be updated at any time. If you print it, you could miss future changes. Please check this page regularly for the latest updates.